10 Tips for a High Impact Remote Learning Workshop
10 tips to prepare for a high impact remote learning workshop - based on ThoughtWorkers' experience of running remote on-boarding programs.

When someone joins ThoughtWorks, their on-boarding journey lasts for about 6 weeks & consists of several milestones & learning programs, including a 4 day Immersion program. We launched a completely revamped version of Immersion in January 2020 as part of the ThoughtWorker Integration Program; an initiative that aims to “create an ecosystem where every new ThoughtWorker flourishes and quickly becomes an integral part of our fabric.” Designed as an entirely F2F workshop experience, Immersion has a high touch, experiential learning design which assumes that people will be able to work together closely in groups and use several physical artefacts like card decks, charts, whiteboards and such.
When the Covid pandemic shocked the world in early 2020, like many other companies, we had to up our game & respond fast. Amongst other things, we virtualised Immersion in a matter of a few weeks! We needed to rework our design & approach significantly to suit a virtual setup, while trying to keep the same learning objectives and content. Our virtual Immersion was quite a success & we learnt a lot in the process!
In this post we will share our top lessons, primarily on design & preparation for a high impact remote learning workshop . For remote facilitation tips, we’ll share a separate post.
Whether you're looking to design a virtual learning / on-boarding workshop from scratch or convert a F2F experience into a remote one, these ideas will be useful either way.
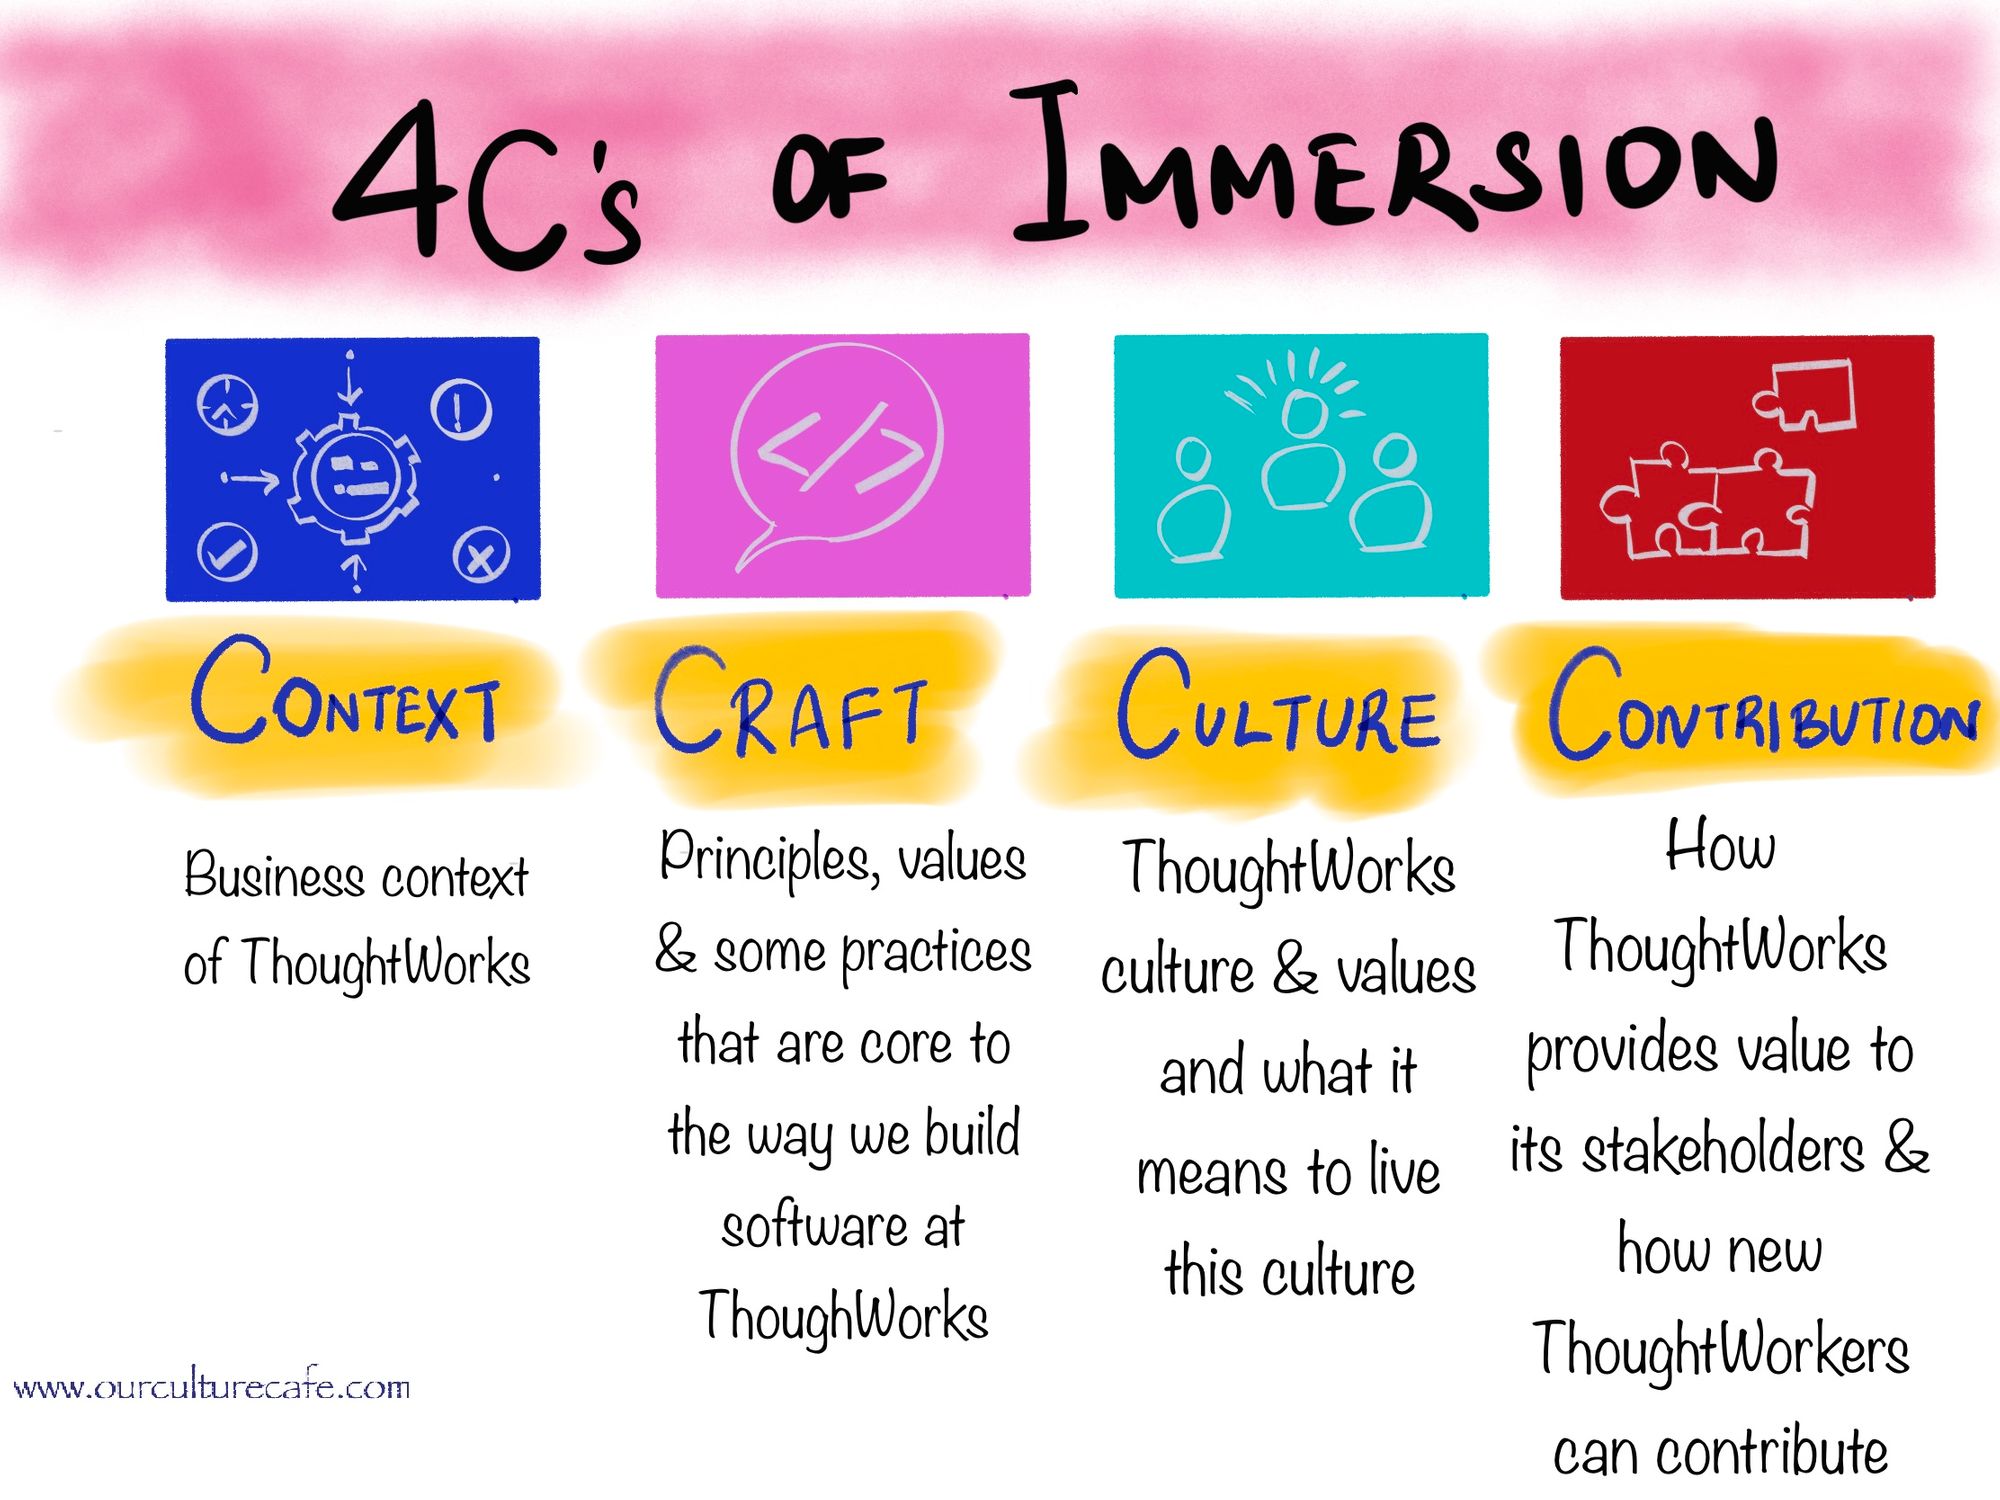
Do bear in mind, that Immersion is an orientation program in a pure sense, meaning that we don’t teach skills in this program but focus instead on the key business, craft & cultural principles of the company.
With that context in mind, consider these 10 tips when designing & preparing for your own remote program like Immersion.
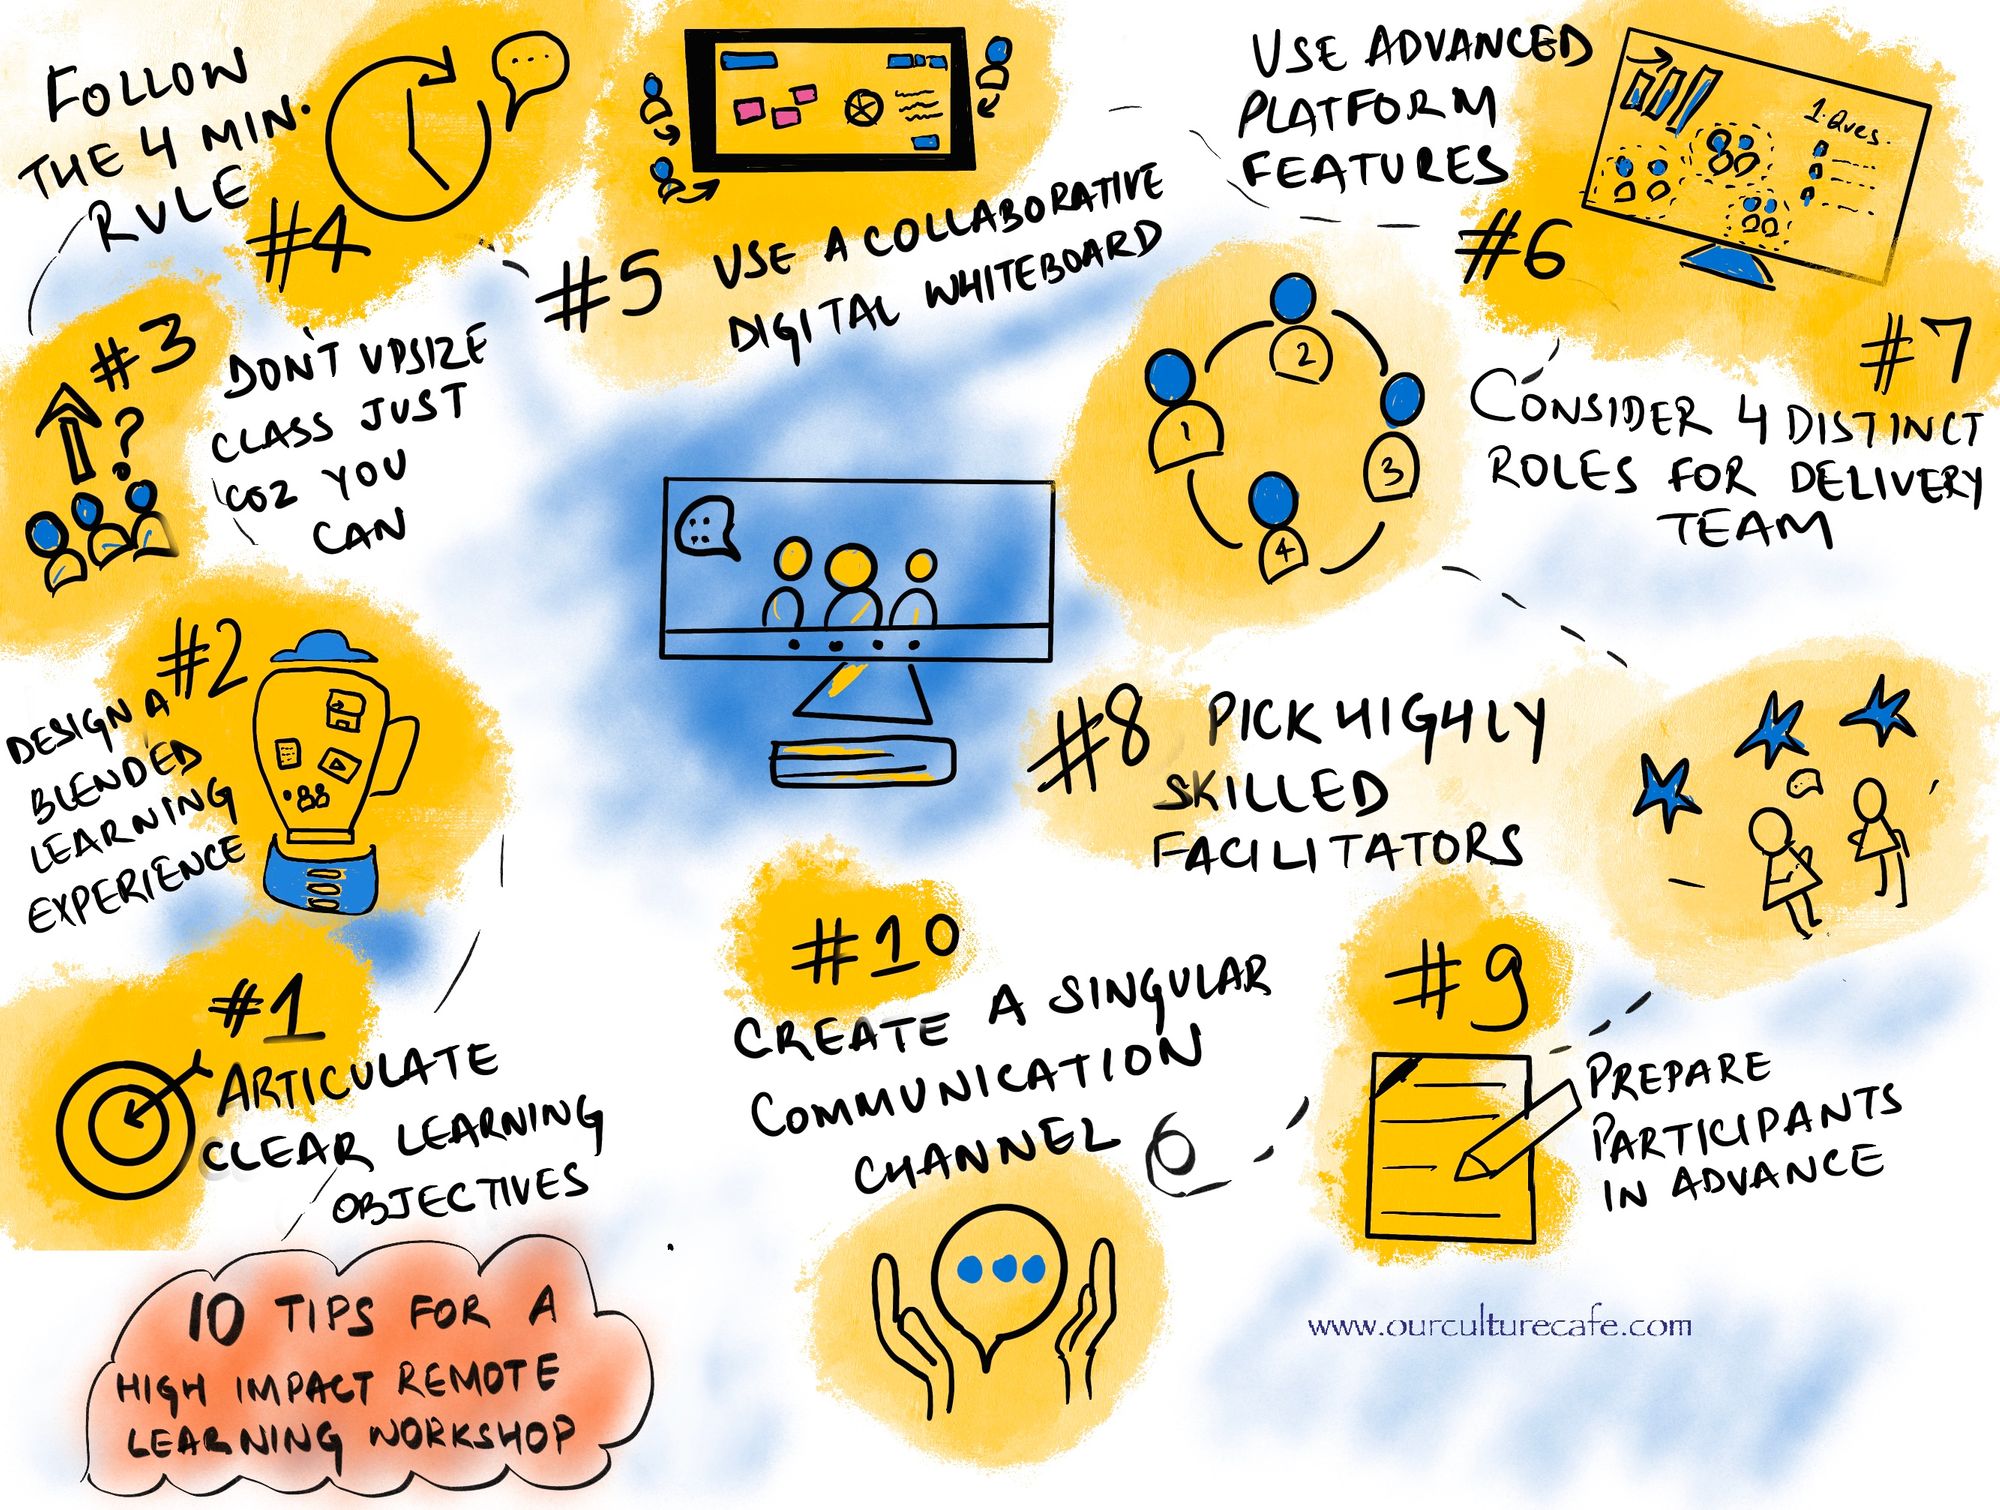
#1 Articulate clear learning objectives
Any well designed learning experience starts with clearly articulated objectives & outcomes. It’s tempting to start with the structure & ideas about what the content should be, in fact we’ve seen many folks start designing programs this way. But resist that temptation, because sooner or later it comes back to bite you! Focus first on getting crystal clear about what exactly you want your participants to learn & apply. The outcomes you craft should be observable, so that you can know they are being achieved.
For example, instead of “understand ThoughtWorks culture" , say “be able to illustrate all ThoughtWorks values with examples & stories”. Instead of “Know the importance of pairing”, say “Explain at least 2 ways in which pairing leads to more effective software development”.
If you are virtualising an already existing program and you have objectives in place, reevaluate to check whether the same objectives make sense in a remote set up. For example, if you had an objective stating “new employees are able to articulate how the physical setup of & artefacts in the office reflect our culture using at least 3 examples” - you may not be able to meet this objective with the same effectiveness in a remote set up. So you may want to readjust this objective or drop it altogether. For eg., you could say “new employees are able access 5 virtual spaces and resources that will help them experience our culture”.
#2 Design a blended learning experience
Design a good combination of self-paced material, live instructor led sessions and live or offline group work. Look for content that is primarily about sharing information & turn it into self paced material that participants can consume as homework or during a designated time. If this material requires further discussion & internalisation, craft a live instructor led session as an add on. This may be a group discussion or activity. For example, on the Culture day of Immersion, we explain our 8 values at length while inviting & sharing stories & examples for each value. In the remote version, we created 8 separate videos - one each to explain every value with a couple of examples. We asked attendees to go through these videos on their own at a designated time in the schedule and then brought the group back for a live session for the storytelling part.
#3 Don’t upsize your class just because you can
Virtual setups allow for much larger class sizes. This is one of the biggest advantages of remote workshops. But don’t go with a large size just because you can. Think about what class size would suit your design well. For instance, in our design, while we had self paced components and live group work, we also had multiple spaces for discussion where we wanted to invite participants to share examples, stories & insights. We also had a lot of space for playback & summary of group work. This meant that we had to limit our class size to a maximum of 25. If your design is heavily inclined towards self paced material, webinars & group work that doesn’t require much playback or live participation from every group, you can consider pretty large class sizes - going up to a 50 or more! Otherwise stick to a group size of 15 to 25.
#4 Follow the "Four Minute Rule"
Training leader Bob Pike, in his seminal work, Creative Training Techniques Handbook, states that in the in-person classroom, “…participants can listen with understanding for 90 minutes, with retention for 20 minutes, and that we need to involve them every 8 minutes” . When applying this same principle to the virtual classroom, he cuts this time in half and advises involving participants at least every four minutes. We applied this principle rigorously in our remote design & it paid off. Most of our live sessions were between 30 mins to 75 mins depending on their nature (group work v/s reflective journaling v/s discussion & story sharing). We ensured that the facilitators did not speak for more than 4 minutes straight at any given time. After every 3 to 4 mins, there were questions, invitations & activities peppered in. Likewise, we scheduled proper breaks between sessions and energisers from time to time. Our attendees remained highly engaged & active throughout the live sessions even though they were quite intense.
#5 Use a collaborative digital whiteboard
The tools & technology you use during the program will play a significant role in shaping the learning experience. Your design can be limited by the capabilities of the tools you select . Conversely it can also be enhanced by them too. We picked Mural as our collaborative whiteboard.
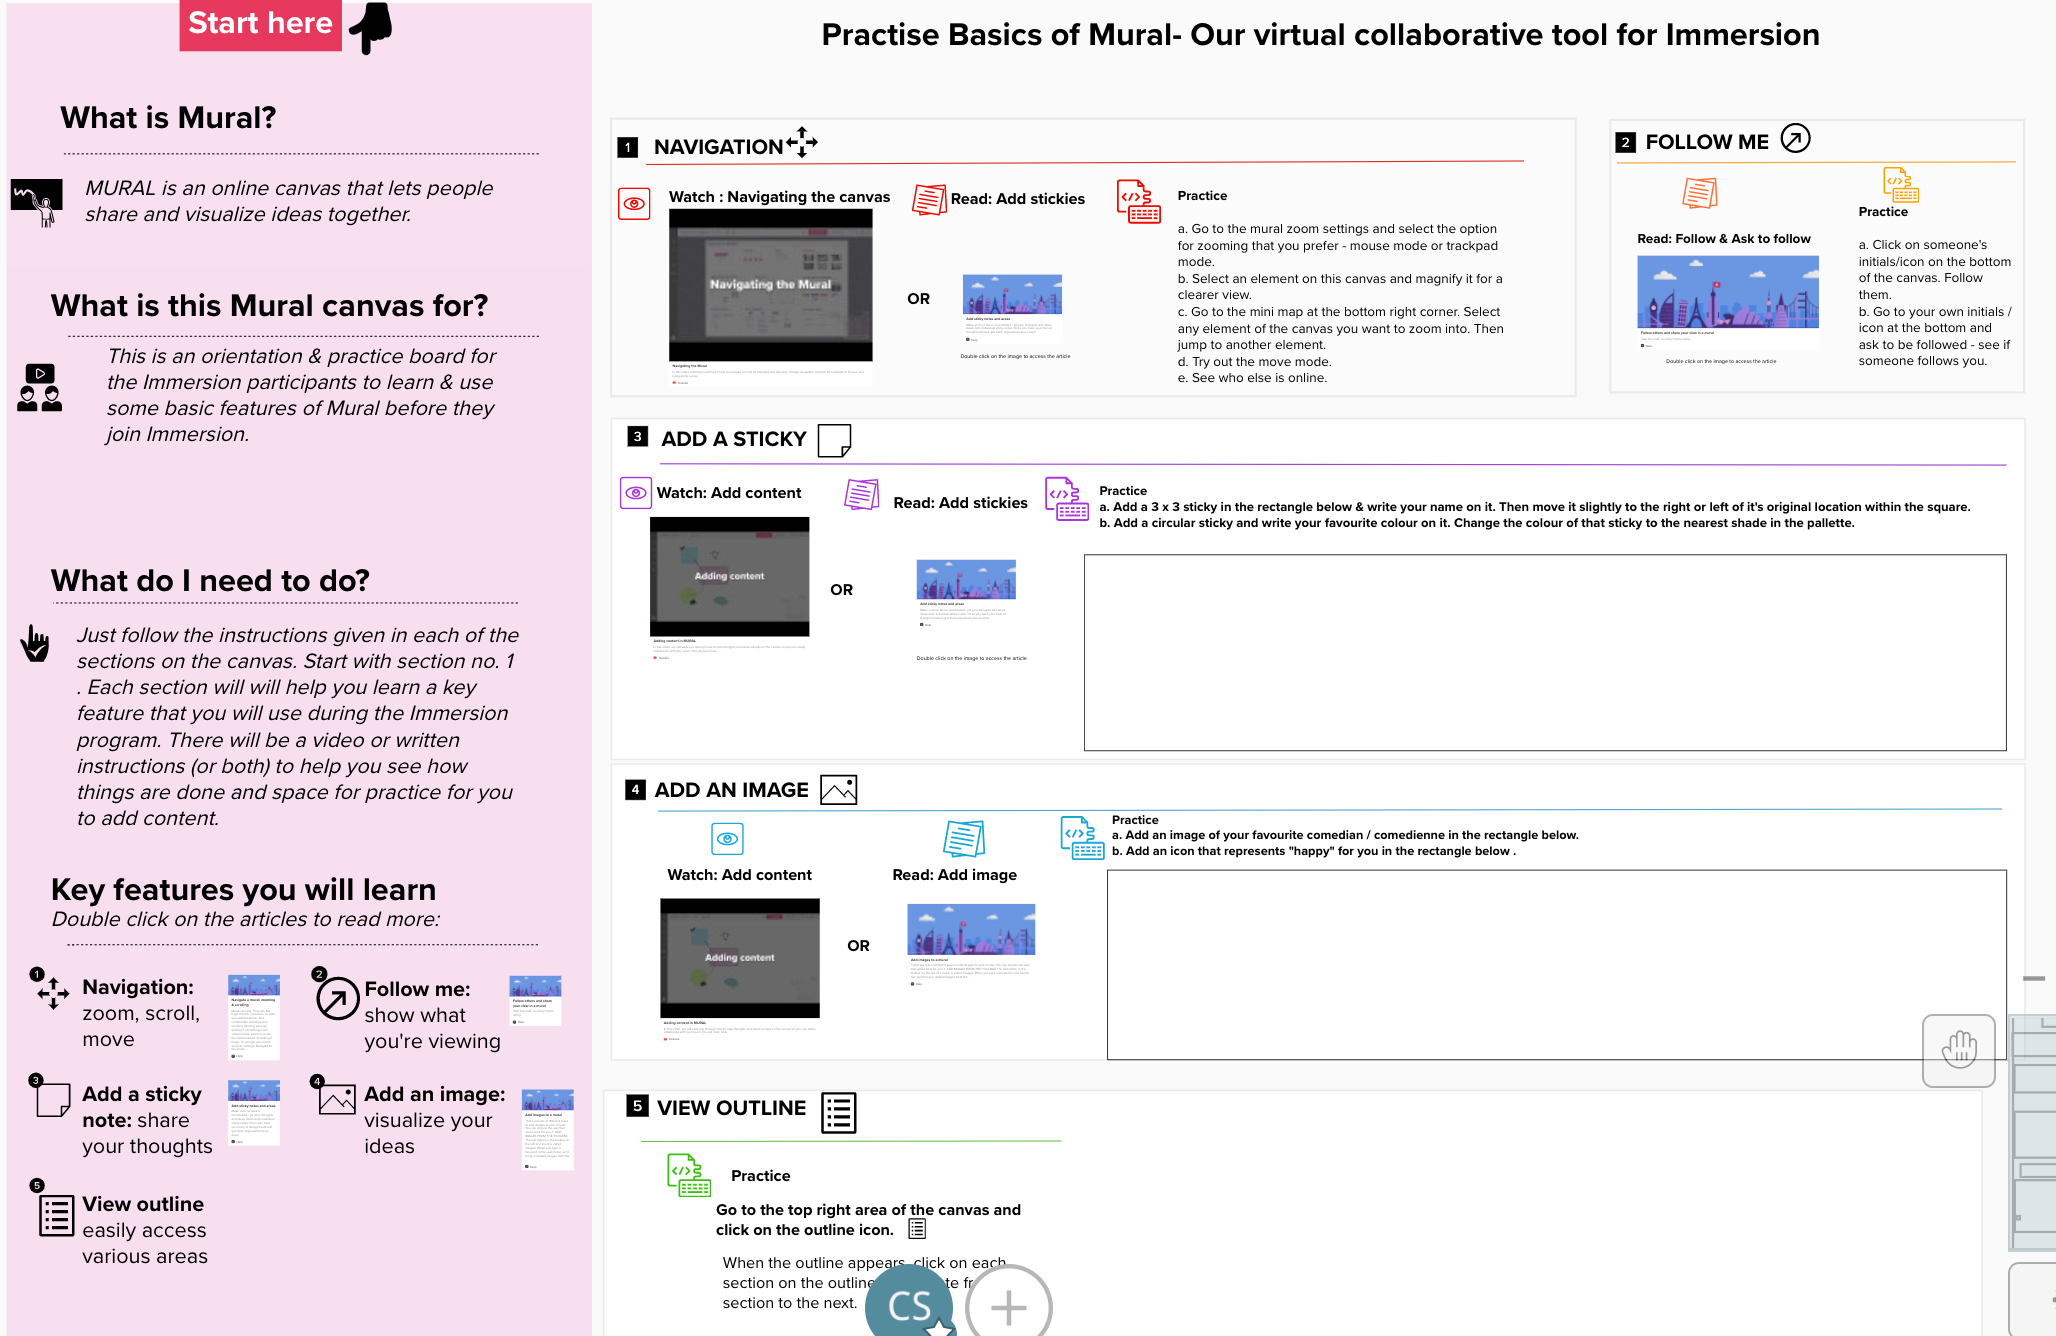
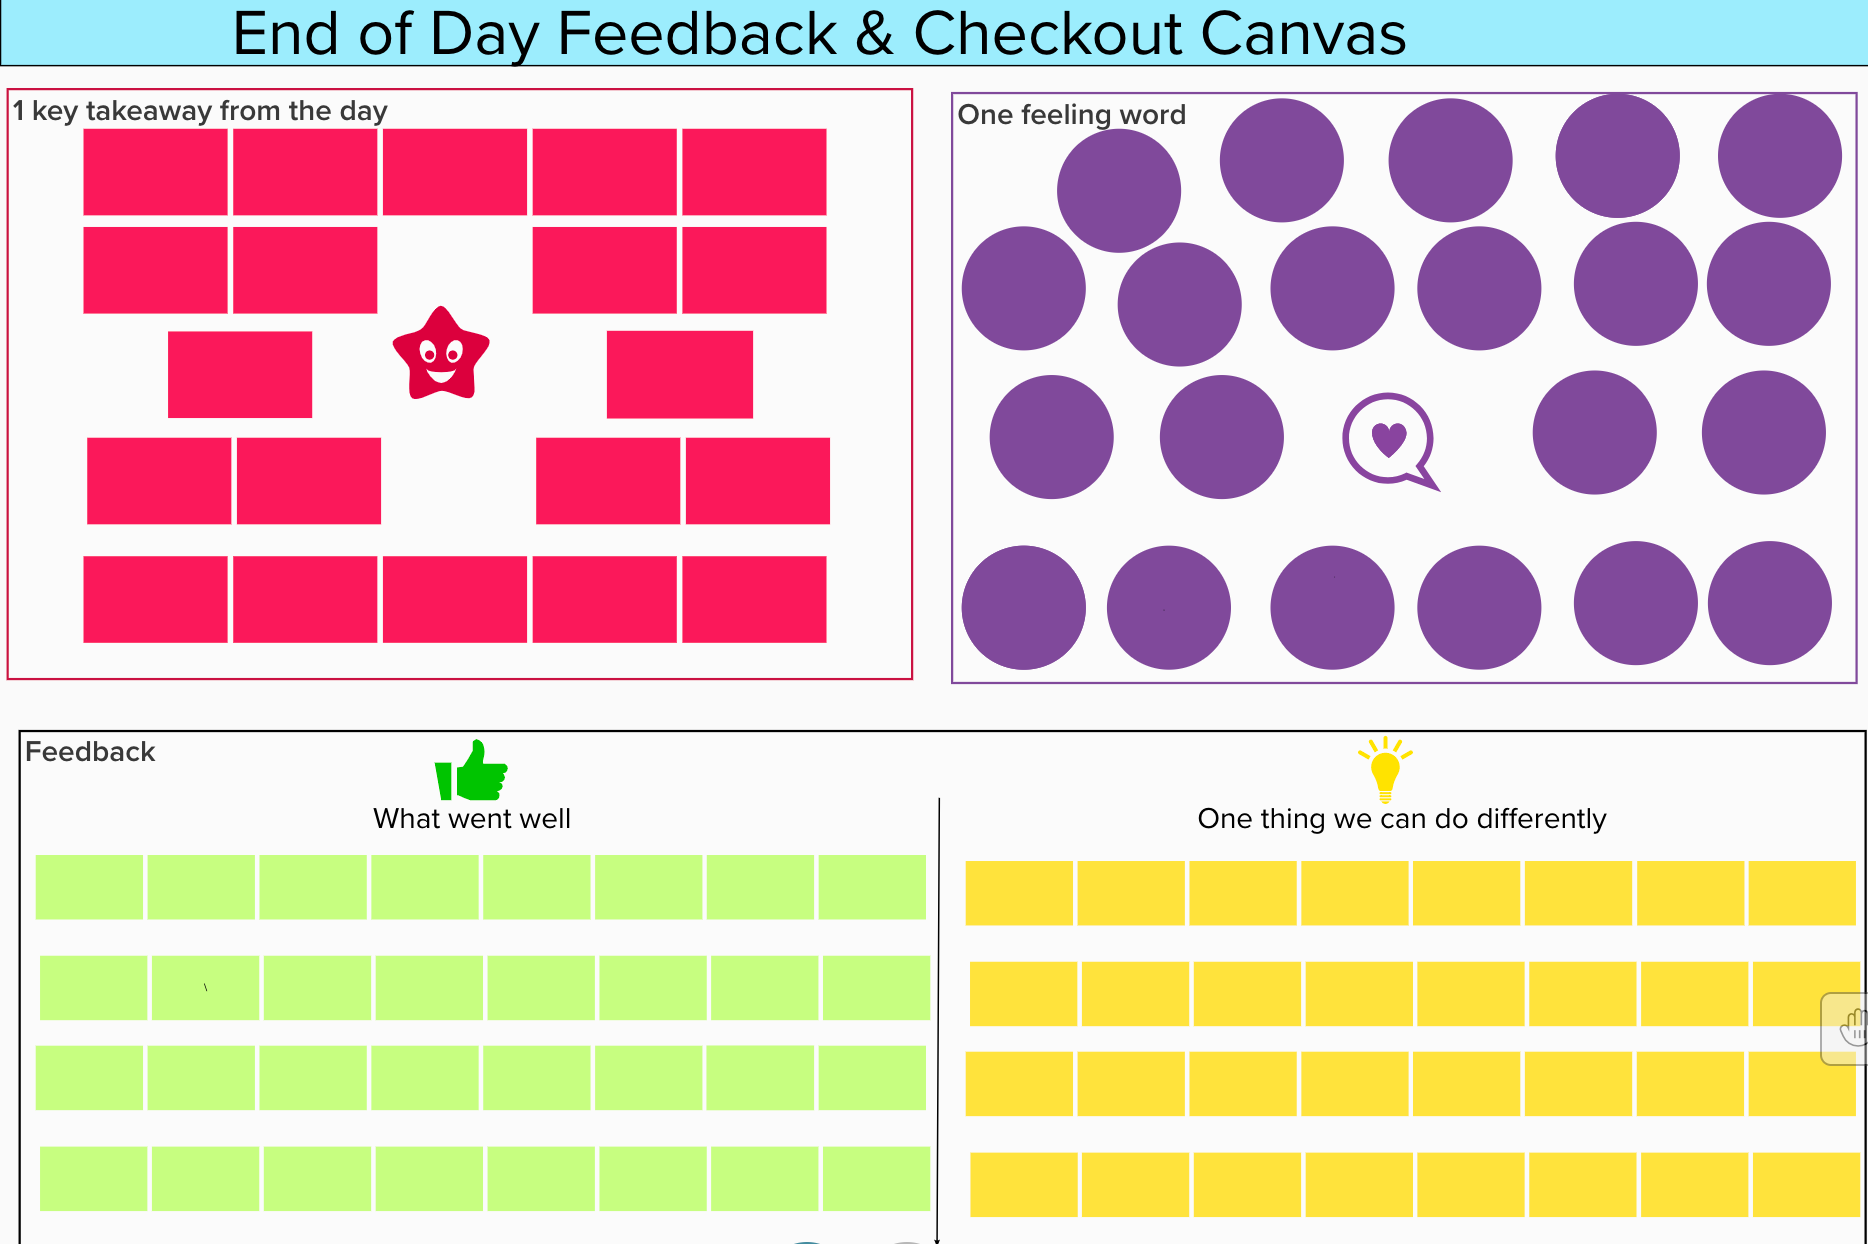
Mural provided us with enormous capabilities to create our own structured canvases for every group activity. We used it for all collaborative work such as group brainstorms & structured group work which required recording their output & playing it back. We also used it for visual introductions, retrospectives, day end feedback & guided journaling. Since we were not using slide decks for most of our sessions, we also used mural for sharing things like norms, journaling questions, day’s agenda etc, which otherwise would have required separate slides. It was our main tool for all activities, instructions & discussions and it allowed us to create rich interactive experiences.
#6 Utilise advanced platform features beyond video-conferencing
Delivering a workshop is much more than simply hosting a virtual meeting. So research the features & capabilities of various platforms & choose the one that fits your design’s needs. We chose Zoom because it met all our platform requirements for delivering the design. Here are our most used features during the program:

- Pre-created break out rooms for live group work: If you create breakout rooms on the spot, it can cause confusion by including facilitators and organisers in them as well. Zoom allows you to create groups in advance & all you have to do is open them during the meeting. Also if you want the same groups to come together for several activities over multiple days, as was the case for us, then pre-created groups are the way to go. We also used break out rooms for facilitators to huddle during a live session or when groups were doing their own work.
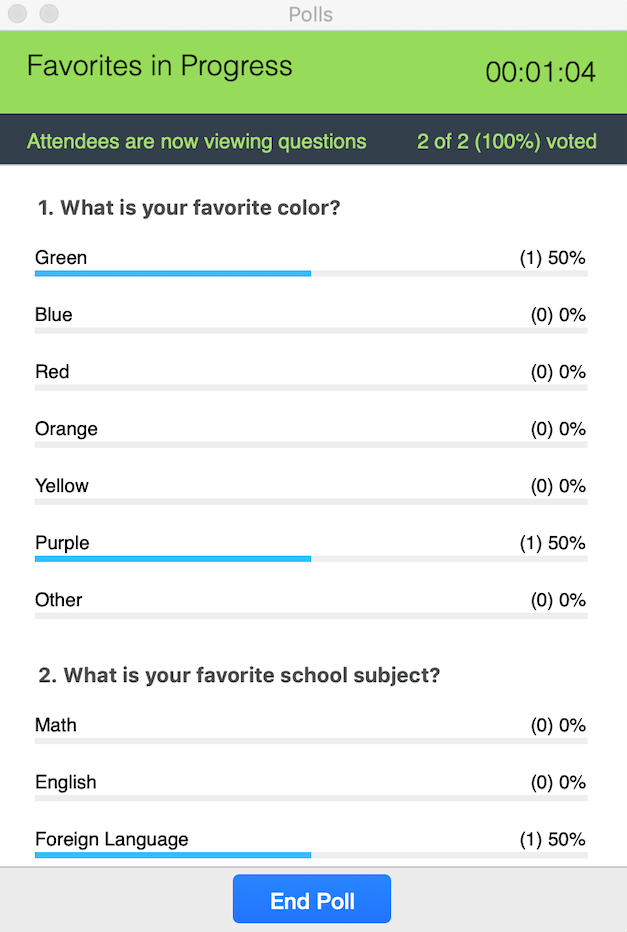
- Polls & Quizzes: While we didn’t use polls profusely in our design, we did pepper them in from time to time. They make for fun icebreakers, engaging session openings & quick sense checks. They are also very easy to create & launch.
- Participants tab: Zoom also has the capability to allow participants to engage by raising a hand or making requests like “go slower”, “go faster” and so on. We used the “status” icons of this feature extensively during our reflections and activities - whenever we asked folks to journal, access a link or complete a task, we asked them to mark their status as a tick mark indicating “done”. This allowed us to pace ourselves appropriately & ensure that everyone had sufficient time to complete what was needed.
#7 Consider 4 distinct roles for the delivery team
For a remote learning program to be effective, it typically requires more active roles during delivery than a F2F set up. We defined & clarified these roles in our team right at the start, just as we began our design process.
- Primary Facilitator: The one who is front ending the session and doing most of the talking during a session. In our case she / he also controlled what appeared on screen share & facilitated the discussions during the session.
- Co-facilitator: The one who primarily handles the supporting tools for activities. In our case she / he anchored the mural canvases. This included taking notes as participants gave inputs, keeping an eye on the activity on the boards as groups were collaborating, supporting participants in handling mural features if they were stuck and summarising the contents that would emerge on a canvas after a session / activity. This role is critical for the primary facilitator - it helps them do an effective job by focusing on explaining or facilitating conversation, as opposed to multitasking with tools in parallel.
- Panelist: The one who primarily keeps an eye on the platform chat activity, while also sharing appropriate links and information from time to time. For example, if a specific document was to be shared during an activity, the facilitator would focus on explaining what had to be done with it while the panelist would keep the document ready and share it in parallel. During a live discussion, the primary facilitator would manage the discussion, the co-facilitator might be writing participant inputs on mural and the panelist would look at the chat to share relevant links or check if anyone needed help. It is also possible to club the co-facilitator & panelist roles depending on the complexity of your design. In our case these two roles remained distinct.
- Zoom support: The one dedicated to handling the technical aspects of the platform. This role primarily handles tasks like hosting the meeting, creating & managing breakout rooms, helping people log in if they are having trouble, launching pre-created polls etc.
#8 Pick highly skilled facilitators
One of our key insights while delivering Immersion remotely, was that while a virtual setup makes things much more efficient and perhaps requires less physical energy from a facilitator, it demands much higher skills of facilitation. Here are some reasons why:
- Getting a sense of the room takes high mental effort & skill in a virtual environment - you have to watch the videos & tune into the participants much more keenly. Facial expressions, tone, participation level - these are all harder to notice & track remotely. A facilitator with strong fundamental skills & experience will be able to do this much more easily than someone new at it.
- The instructions for activities need to be articulated concisely & clearly the first time around. It’s harder to keep a tab on whether people are doing the activities as you intended in a remote set up. Facilitators need to be very clear about exactly what needs to be done & get it right the first time. You underestimate the importance of this at your own peril!
- Knowing how to hold a room & keeping the energy & engagement high is critical in a remote setup. Virtual landscapes lend themselves to distractions & interruptions and it can be very difficult to keep a tab on participation & engagement levels if the facilitator isn’t skilled enough. While the design itself can solve some of this, competent facilitators can handle this far better.
#9 Prepare participants in advance
Preparing your participants in advance is also critical for a smooth experience if they are using the platform & tools for the first time. For instance, we organised a 90 minute prework call to familiarise them with zoom & mural before the batch began. We also gave them some “homework” for practice. When they showed up on day 1 of the program, they already knew how to handle the tools and the interactions & group work was totally hassle free.
#10 Create a singular channel for communication
Before the program begins or right at the start, tell participants what channel they should use to communicate throughout the program & then stick to that. This will save you a whole lot of confusion & coordination. We kept one channel each for communication & clarified it right at the beginning:
- When a session was live: We asked participants to only use zoom chat while the sessions were on, unless they got disconnected & needed help.
- Offline, when a session wasn’t running: We had a google chat group where any offline conversations could occur and participants could ask questions if they were stuck with self paced material.
We attribute much of the success of remote Immersion to these 10 practices. After working through every painstaking detail of designing & preparing for the remote version of Immersion, when we launched it in April 2020, it became a milestone to remember for our team! The program got a fantastic feedback score of 9.5 / 10 and was received far better than we expected! The following batches have been equally successful. We hope you will get similar results by using some of these ideas.
There is also a lot to be said about remote facilitation of course, since it’s a crucial ingredient in making a remote workshop successful! In a separate post we’ll share some tips around that with you as well.
Sources: Virtual Training Guidebook by Cindy Hugget
Acknowledgements: Gurpreet Luthra helped review this article.
Cover image credit: Nikita Katsevich on Unsplash
4C illustration & 10 tips illustration: by Our Culture Cafe
Some useful links to explore other tools & platforms:
- Web Whiteboard - Free online collaborative whiteboard (many others are available)
- Stormboard
- Jamboard by google (we use this in our remote induction program)
- Online quiz creation tools (we used these for some energisers - there are several available online)
- Gotomeeting
- Adobe connect